What has eight cylinders, flashing lights, and vibrates when you touch it? The tactile engine prototype Smithsonian Exhibits recently designed and built for the National Air and Space Museum.
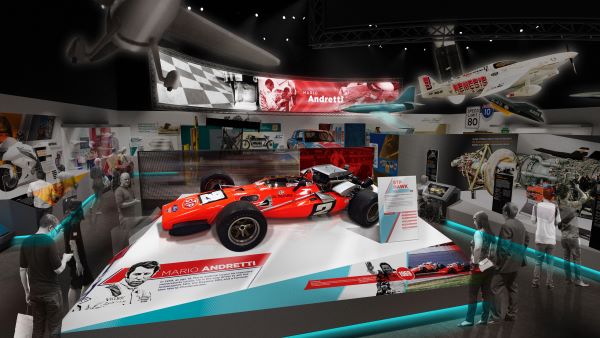
This is a prototype of a hands-on interactive planned for NASM’s Nation of Speed exhibition, opening soon. NASM staff and volunteers will use the interactive in facilitated experiences to help visitors understand how engines generate speed and how they can be modified to go faster.
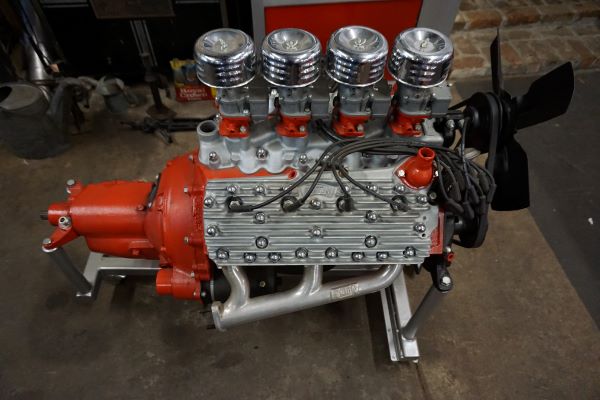
The interactive is based on the iconic Ford Flathead V-8 engine, produced between 1932 and 1953, which powered hot rods and other modified cars.
.jpg)
This project was funded by the Smithsonian Accessibility Innovations Fund (SAIF). Our goal was to ensure that the resulting interactive is accessible to all visitors, including visitors who are blind or have low vision and visitors who are deaf or hard of hearing.
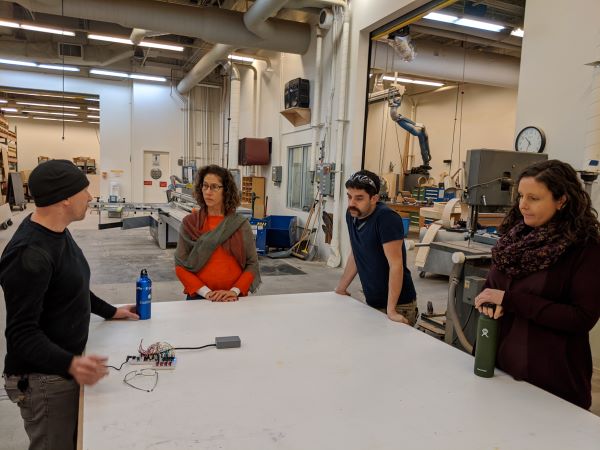
SIE, NASM, and Access Smithsonian met in November 2019 to kick off the project. To get us started, SIE exhibit specialist Enrique Dominguez tracked down a foam model of a Ford Flathead V-8 engine. (Who knew these things existed?)
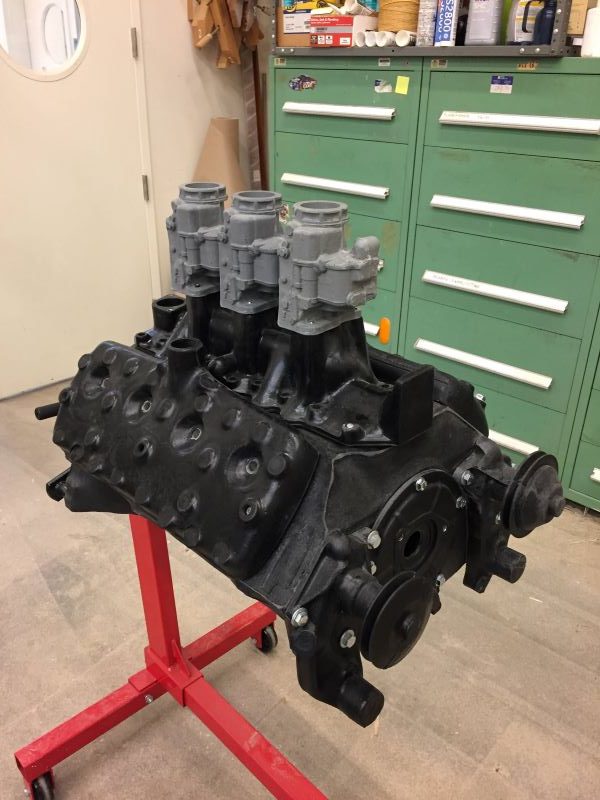
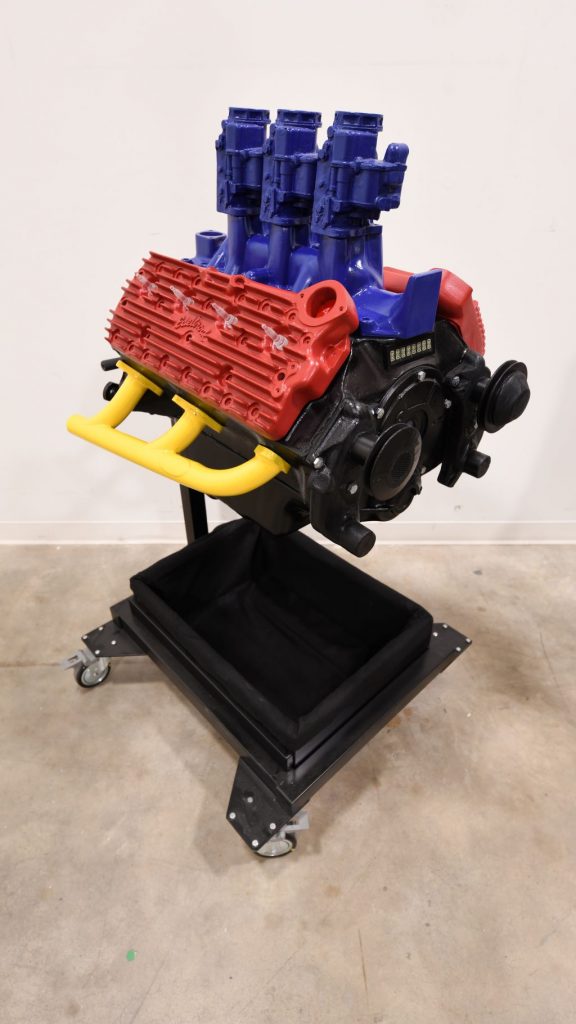
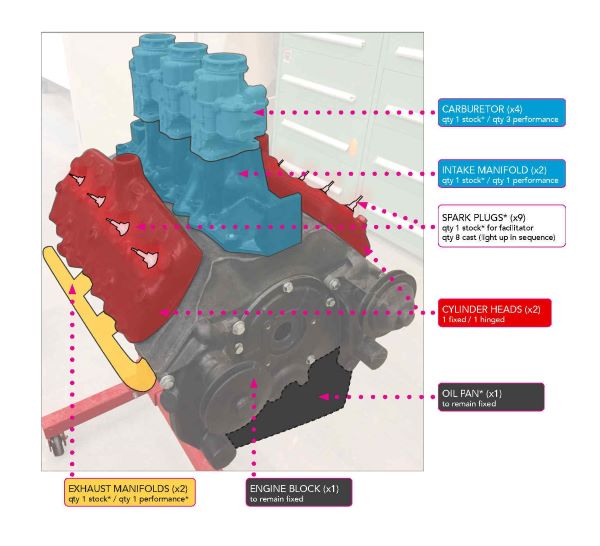
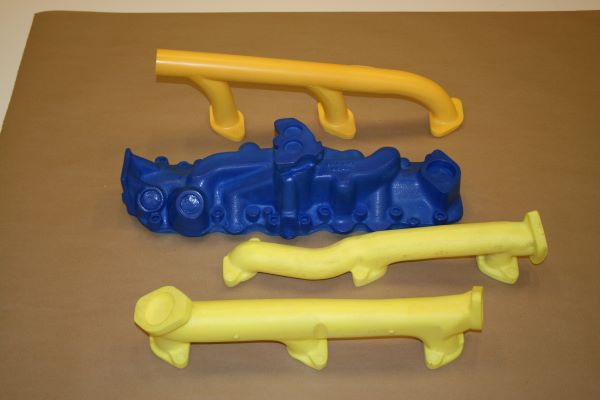
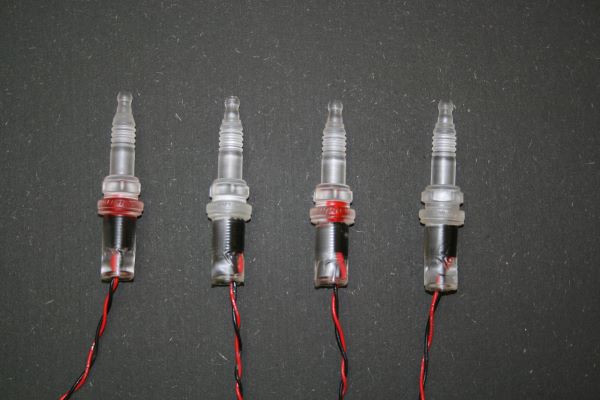
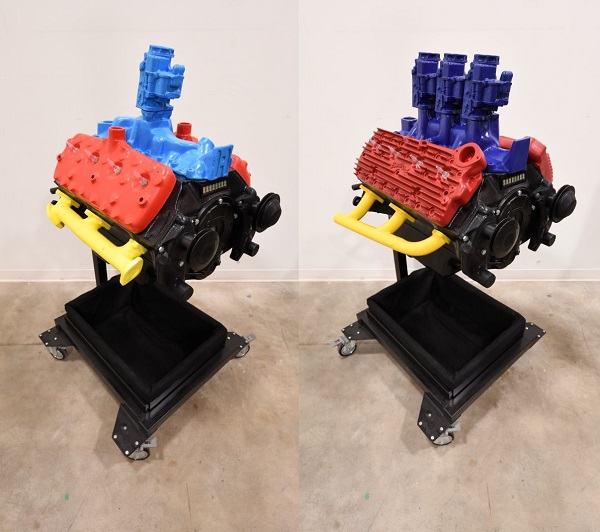
The foam model provided an excellent starting point. But the team wanted to add more parts for visitors to handle, including cylinder heads, spark plugs, intake manifolds, carburetors, and exhaust manifolds. To help visitors understand what the different engine parts do, we decided to color code them according to their functions: blue for intake, red for combustion, and yellow for exhaust.
We also wanted to demonstrate how to modify an engine to make it faster. To achieve this, we decided to include interchangeable stock and performance parts. To help distinguish the parts from each other, we decided to color the stock parts a lighter shade and the performance parts a darker shade.
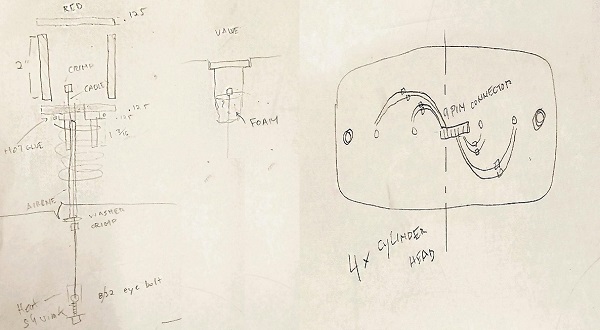
Once we had a plan in place, SIE designer Elena Saxton worked with SIE exhibit specialists Enrique Dominguez and Jeff Rosshirt to design the prototype.
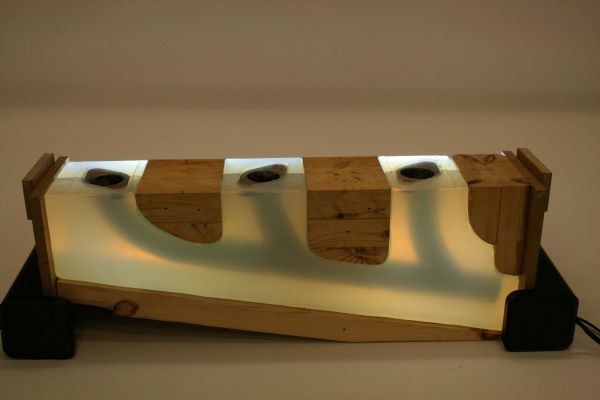
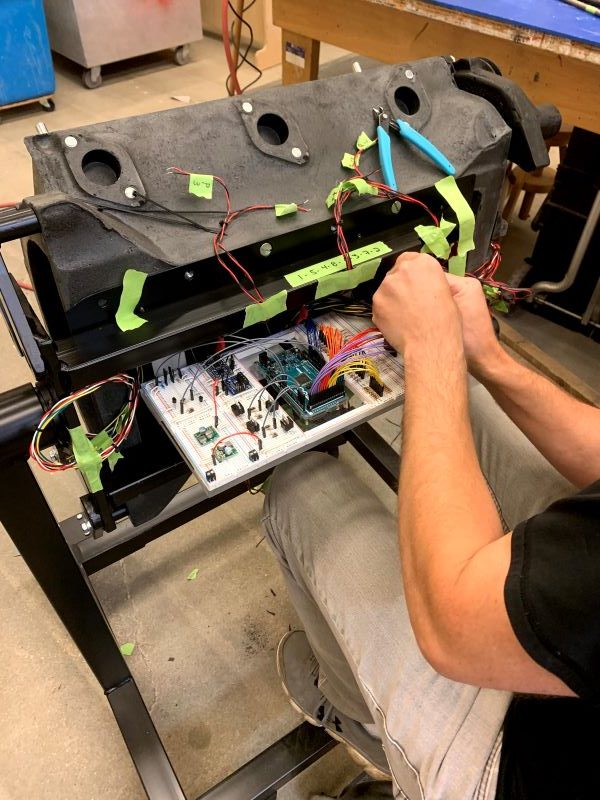
We had originally intended the interactive as a purely tactile experience. But after some discussion, the team decided to incorporate additional multisensory features to make the experience accessible to a wider audience. These included audio clips of stock and performance engines running, touch-activated vibrations to simulate the feel of a running engine, flashing LEDs to demonstrate the firing order of the cylinders, and a digital display showing the engine’s RPMs (revolutions per minute). SIE exhibit specialist Jeff Rosshirt took the lead in developing these components using Arduino, an open-source electronic prototyping platform.
While Jeff was programming the Arduino, SIE model and mount maker Danny Fielding got to work making replicas of the engine parts. These needed to be light enough to attach to the engine block with magnets but durable enough to withstand frequent handling.
Danny used actual engine parts to make the molds. He encased the original parts in liquid rubber (silicone) and left them overnight to cure.
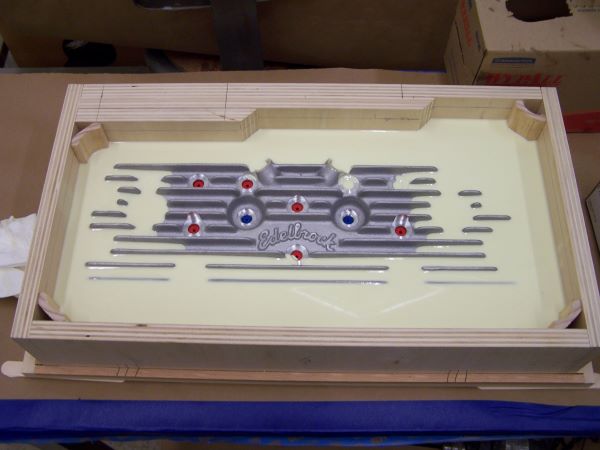
After removing the original parts from the molds, Danny cleaned and prepared the molds for casting. He tinted the liquid resin the desired colors and poured it into the molds, which he quickly capped off to stop the foam from expanding. Once cured, the foam engine parts were removed from the molds and filed and sanded to remove any surface imperfections.

SIE exhibit specialist Enrique Dominguez added fiberglass to many of the parts for durability and installed magnets and pin locators to make them quick and easy to install and deinstall.
Once the parts were ready, SIE exhibit specialist Jeff Rosshirt installed the Arduino microcontroller.

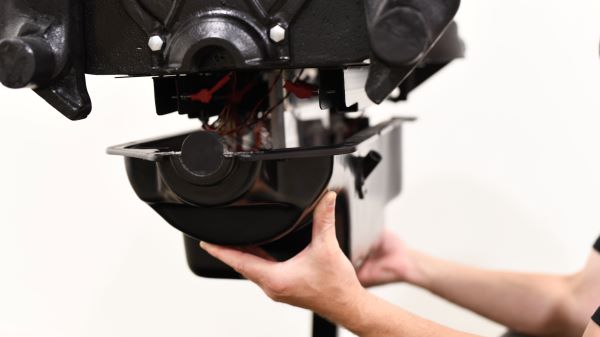
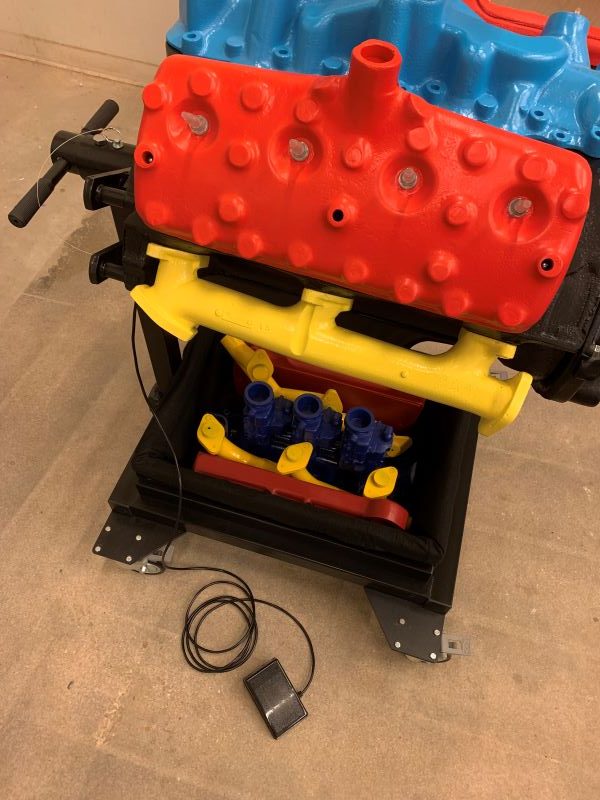
Once the Arduino components were programmed and installed, Enrique and Jeff assembled and mounted the engine block on a custom welded stand with locking wheels. The stand can be tilted up to 45 degrees in either direction to facilitate access to visitors in wheelchairs and small children. They also installed a tray underneath to store the engine parts when not in use.
The finished prototype can be operated in three modes: manual mode, which allows visitors to see the firing order of the cylinders in slow motion; stock mode, which demonstrates how the engine would run with stock parts; and performance mode, which demonstrates how the engine would run with performance parts. NASM’s facilitators can even simulate an engine breakdown and control the engine’s RPMs using an optional foot pedal. In fact, just about the only thing this prototype doesn’t do is drive!
Watch a video of the finished prototype in action below.
Unfortunately, the COVID-19 pandemic prevented us from testing the prototype with visitors as we had originally planned. But stay tuned—NASM hopes to roll out the prototype at the Udvar-Hazy Center once it is safe to do so.
This project allowed SIE to explore the possibilities of incorporating multisensory components into hands-on interactives to make them accessible to a wider audience. We learned a lot and look forward to future opportunities to continue this important work!