OEC’s 3D studio isn’t just for model making. We can create original sculptures, too. Sculptor Lora Collins, who is also the 3D Studio supervisor, designed and sculpted the sea lion statues that were recently installed at the National Zoo.
Lora created the sea lion mom and pup using a combination of traditional art techniques and high tech innovations.
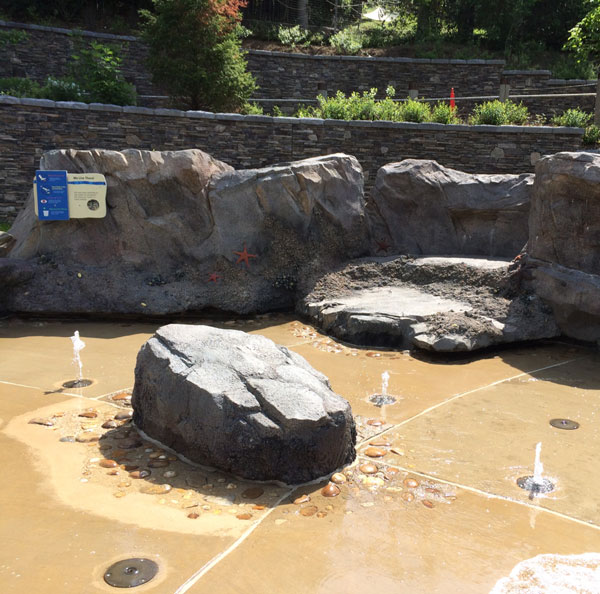
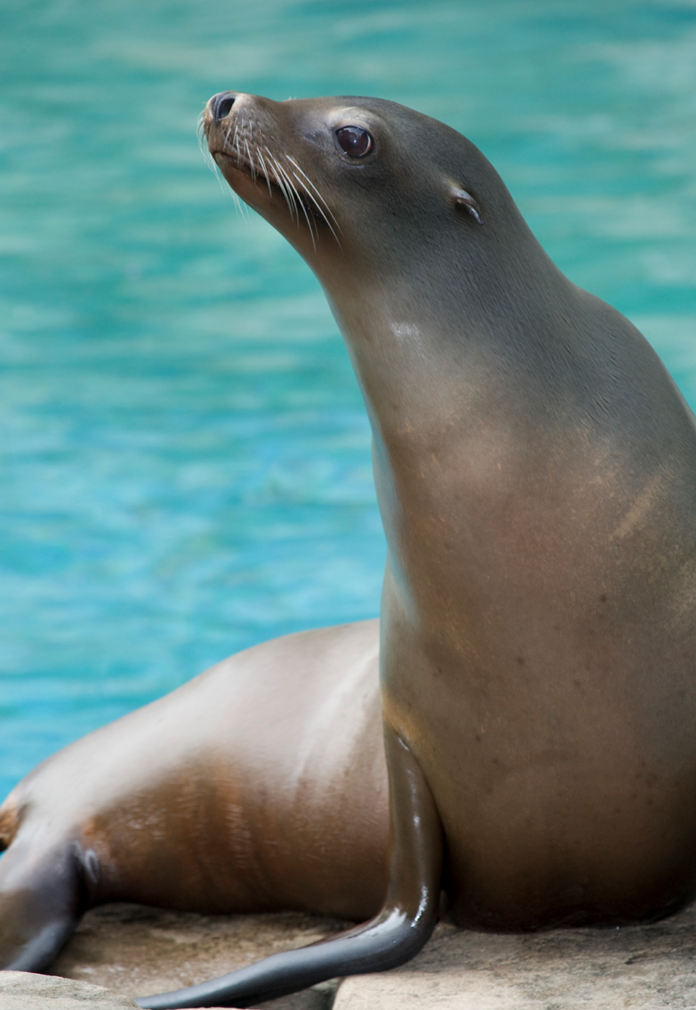
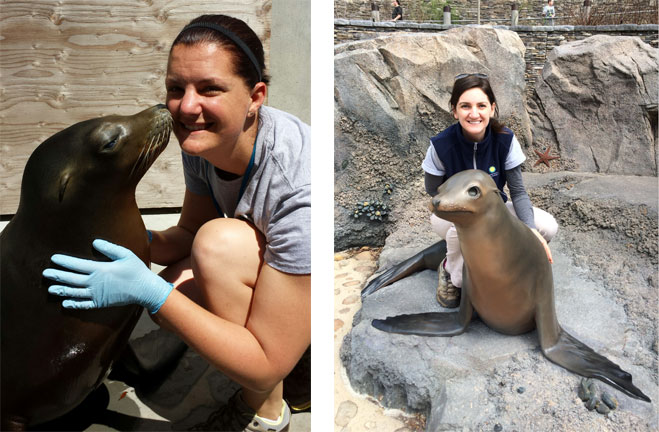
First, Lora met with animal keepers Rebecca Sturniolo and Chelsea Grubb at the National Zoo to discuss the project, scout out the location for the statues, and meet her model.
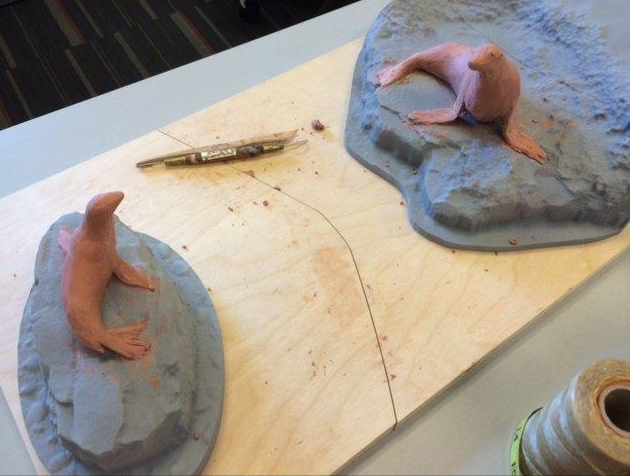
Next, Lora sculpted 3-inch-high maquettes to present to the Zoo. The mini-sea lions were placed on scale model replicas of their future rock bases. To accomplish this, Megan Dattoria and Carolyn Thome scanned the rocks at the Zoo, and Chris Hollshwander cut the scale models using the CNC router. By digitally capturing the surface of the rocks and importing that information into the CNC router, OEC ensured that the statues and the bases would fit together like puzzle pieces. The maquettes gave the Zoo a chance to see what the statues would look like, and also how they would be placed on the rocks.
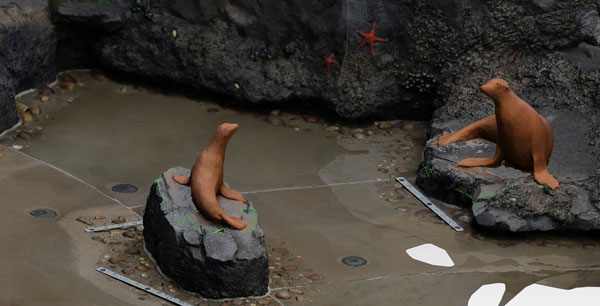
To give an even better idea of how the completed statues would look, the maquettes were scanned and the images were placed into a digital model of the Zoo.
After the Zoo approved the maquettes, Lora created the full-size sculptures. Carolyn used the scans from the digital model to create a file for the CNC router. This time, Chris used the router to cut out sections of foam to build the internal structure, called armature, of the statues.
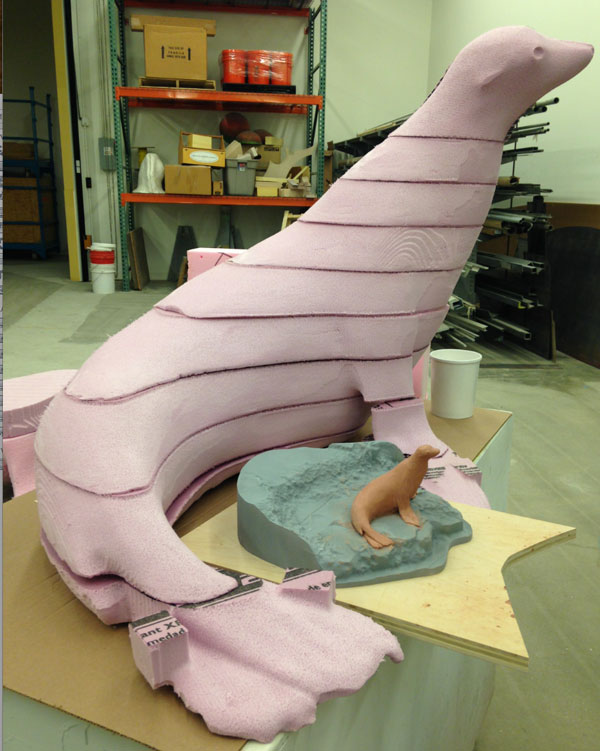
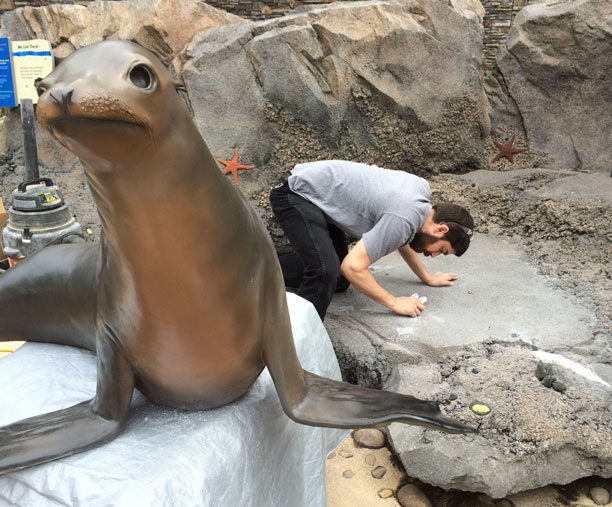
After assembling the armature, Lora and exhibit designer Kristen Orr covered the foam in roughly half an inch of oil-based clay. While it might seem like this would get the sculpture most of the way to complete, that is not the case. In fact, they aren’t even at the halfway point. Now that the sculptures are larger, there is more room for lifelike detail. And details take a lot of time.
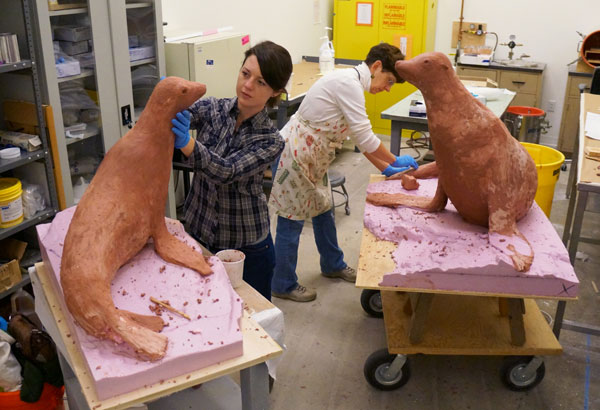
What exactly does “lifelike detail” mean? In this case, it means that Lora worked with animal keepers Rebecca and Chelsea to ensure accurate representations of all the things that make sea lions so adorable: chubby cheeks, fat rolls, whiskers, and – in an interesting twist – no eyes.
No eyes?
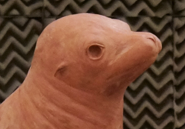
Lora left an open socket instead of inserting an eye, because the shadows created by the socket would look like a sea lion’s inky eye.
And then of course, they had to add the toenails.
Sea lions have toenails?

Sculpting a sea lion’s coat is very time-consuming. Our sea lions are sitting on rocks as if they have just leapt out of the water. Sea lions, while furry, have a sleek, smooth appearance when they emerge from the water. Achieving this level of smoothness takes weeks – yes, weeks – to remove the bumps and imperfections on the surface. So our sea lions got a blowout. Well, not exactly, but Lora and Kristen did use a hair dryer to warm the clay to make it more malleable. They also applied denatured alcohol to smooth it.
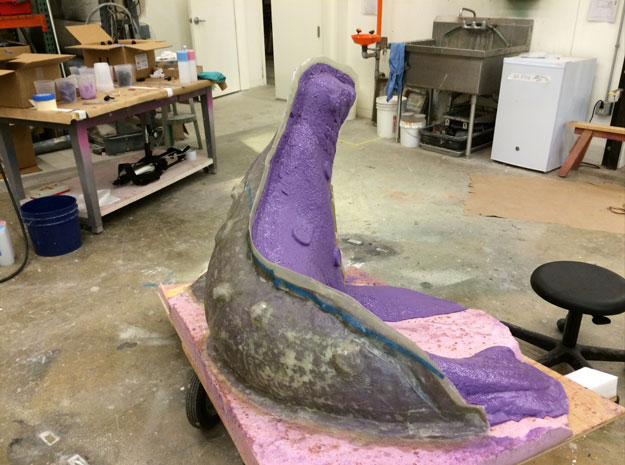
After the Zoo approved the life-sized clay models, they were cast in fiberglass. To do this, both clay sea lions had to be split into three sections with brass sheets, or shims.
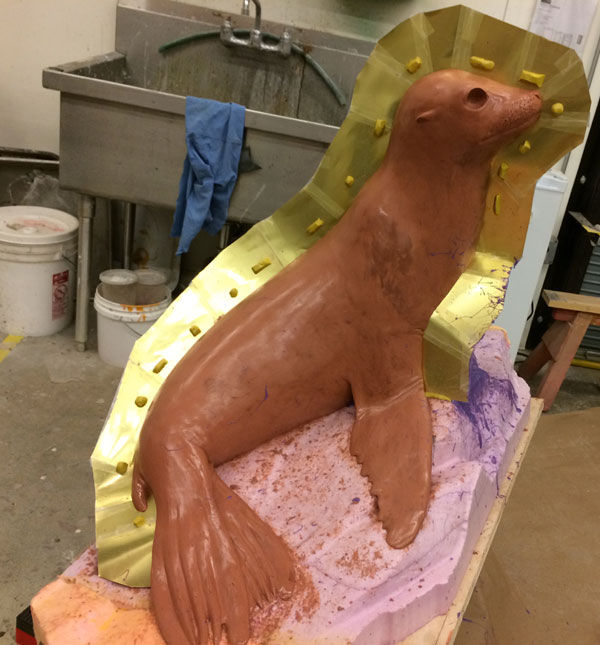
Once the shims were in place, Lora sprayed the clay sculpture with silicone rubber. Then, working in sections, Lora applied several layers of fiberglass and polyester resin on top of the rubber to create a hard shell. She repeated this step for each section of the sculptures. Each section required a full day of work, meaning it took six days to make the molds.
When this step is completed, the negative space inside the rubber mold serves as the form for the final fiberglass sculpture.
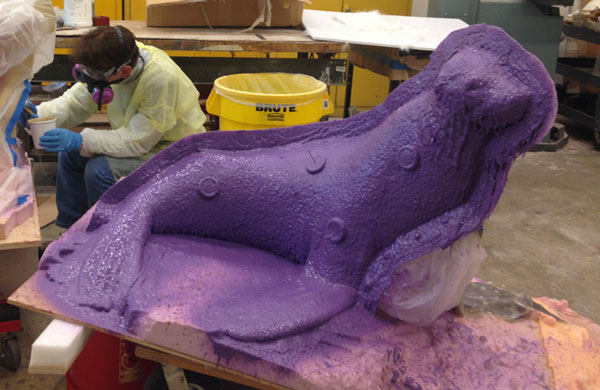
After creating the mold, Lora trimmed away the edges, called flange by sculptors. Then she drilled holes into the mold so that she could bolt the molds shut.
After the mold was completed, the three sections were pulled apart and cleaned for casting. Lora, with help from Megan, Daniel Fielding, and Brad Ruprecht cast the sea lion in vinyl ester resin. Then additional resin and fiberglass were layered into the mold to add thickness and strength. Finally, they bolted together the mold and sealed its seams with fiberglass.
Then they repeated the casting process for the other mold. Each casting took one day.

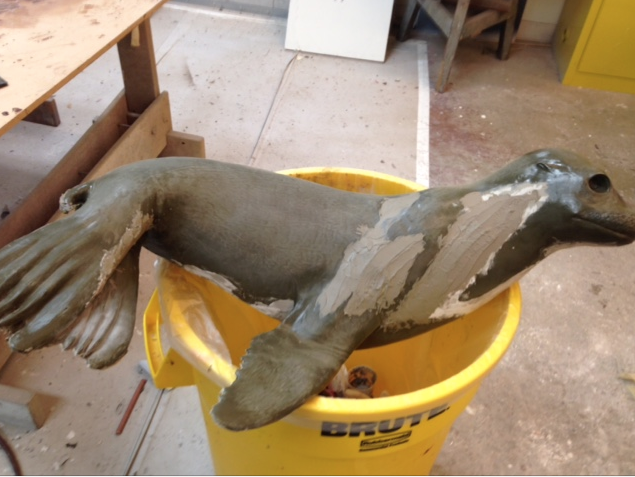
The next day Lora opened the molds and removed the sculptures. After grinding off excess fiberglass and resin, filling in thinner spots, and adding reinforcing layers along the edges and flippers, Lora fiberglassed three stainless steel brackets, custom-made by Chris, into the castings. The brackets allowed for a secure yet non-permanent attachment to the rock.

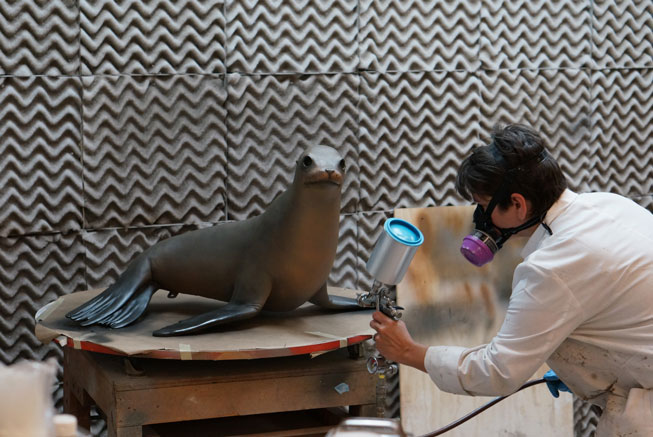
At this point, Lora applied polyester resin fillers as needed, sanded the sculptures smooth, and primed them for painting. Erin Mahoney and Carolyn Thome painted the sea lions with automotive paint and sprayed the finished sculptures with a protective clear coat.


Finally, after all of those steps, the sea lions – and a team from OEC – arrived at the Zoo for installation on April 15.
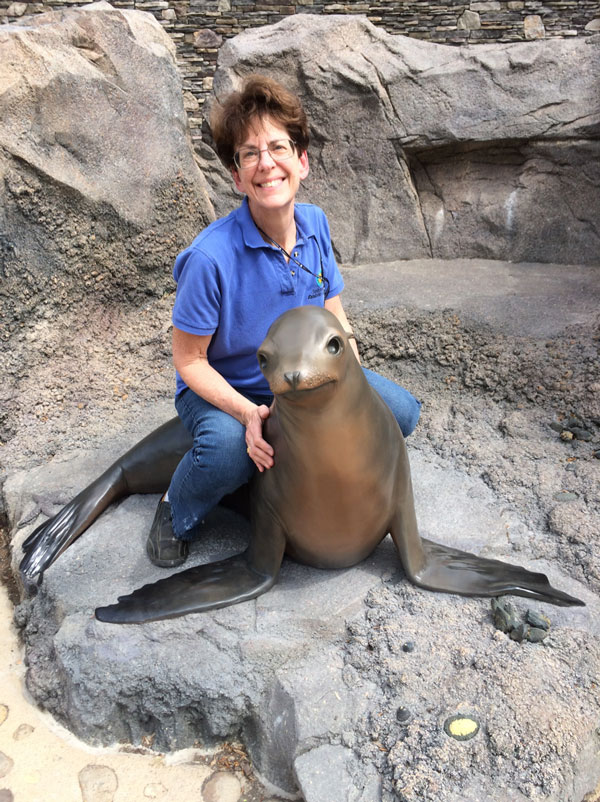
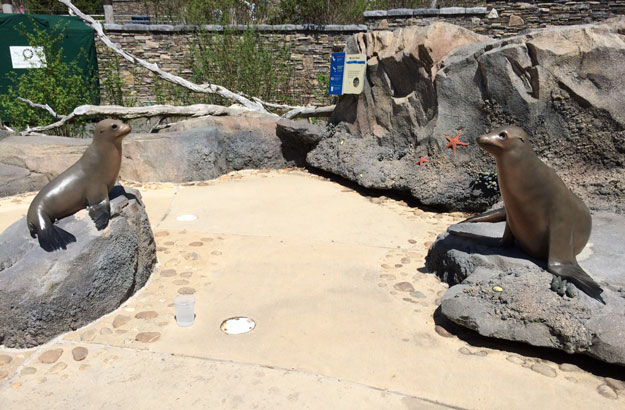
You can see the new sea lion statues along the American Trail at the National Zoo.