We love our exhibitions and we want people to come and see them in person. Unfortunately, a trip to Washington just isn’t in the cards for everyone. Luckily, sometimes the Smithsonian is able to come to you. Today, a traveling version of the National Museum of Natural History’s Hall of Human Origins begins a journey to libraries across the United States. (If you can’t visit Exploring Human Origins in person, you can still view the digitized Human Origins 3D collection online.)
At OEC we’re particularly excited about the traveling Exploring Human Origins exhibition. To get this show on the road, our model shop had the remarkable task of making 95 skulls. Additionally, the model shop oversaw the creation of five nylon skulls that were printed off-site from OEC files, and then painted at OEC.

In addition to the five skulls used in the exhibition, each of the nineteen hosting libraries will receive copies of the five skulls. OEC is printing those skulls in-house.
The obvious question is: how do you go about making a few dozen skulls?
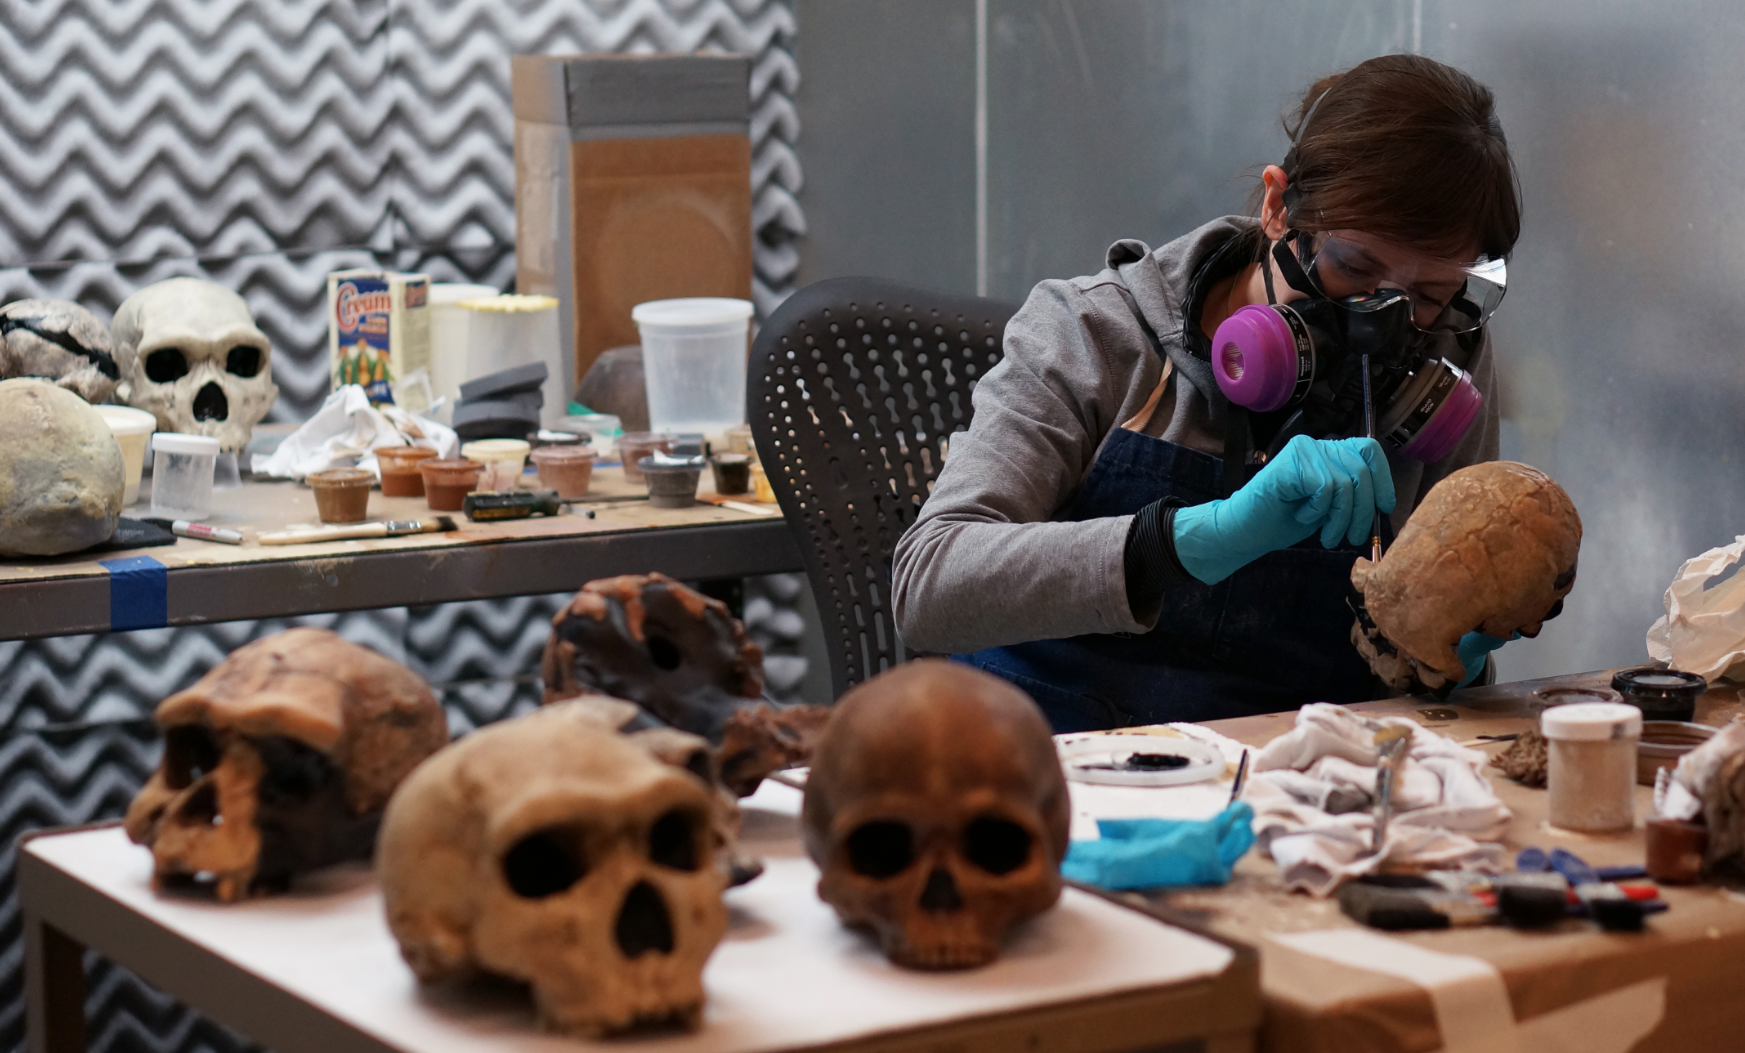
OEC’s Carolyn Thome, Megan Dattoria, and Erin Mahoney were willing to explain.
It all starts with a scan – and then more scans. Scanning is how the model makers gather their data – the density, cracks, seams, ridges – any and all details that need to be copied.
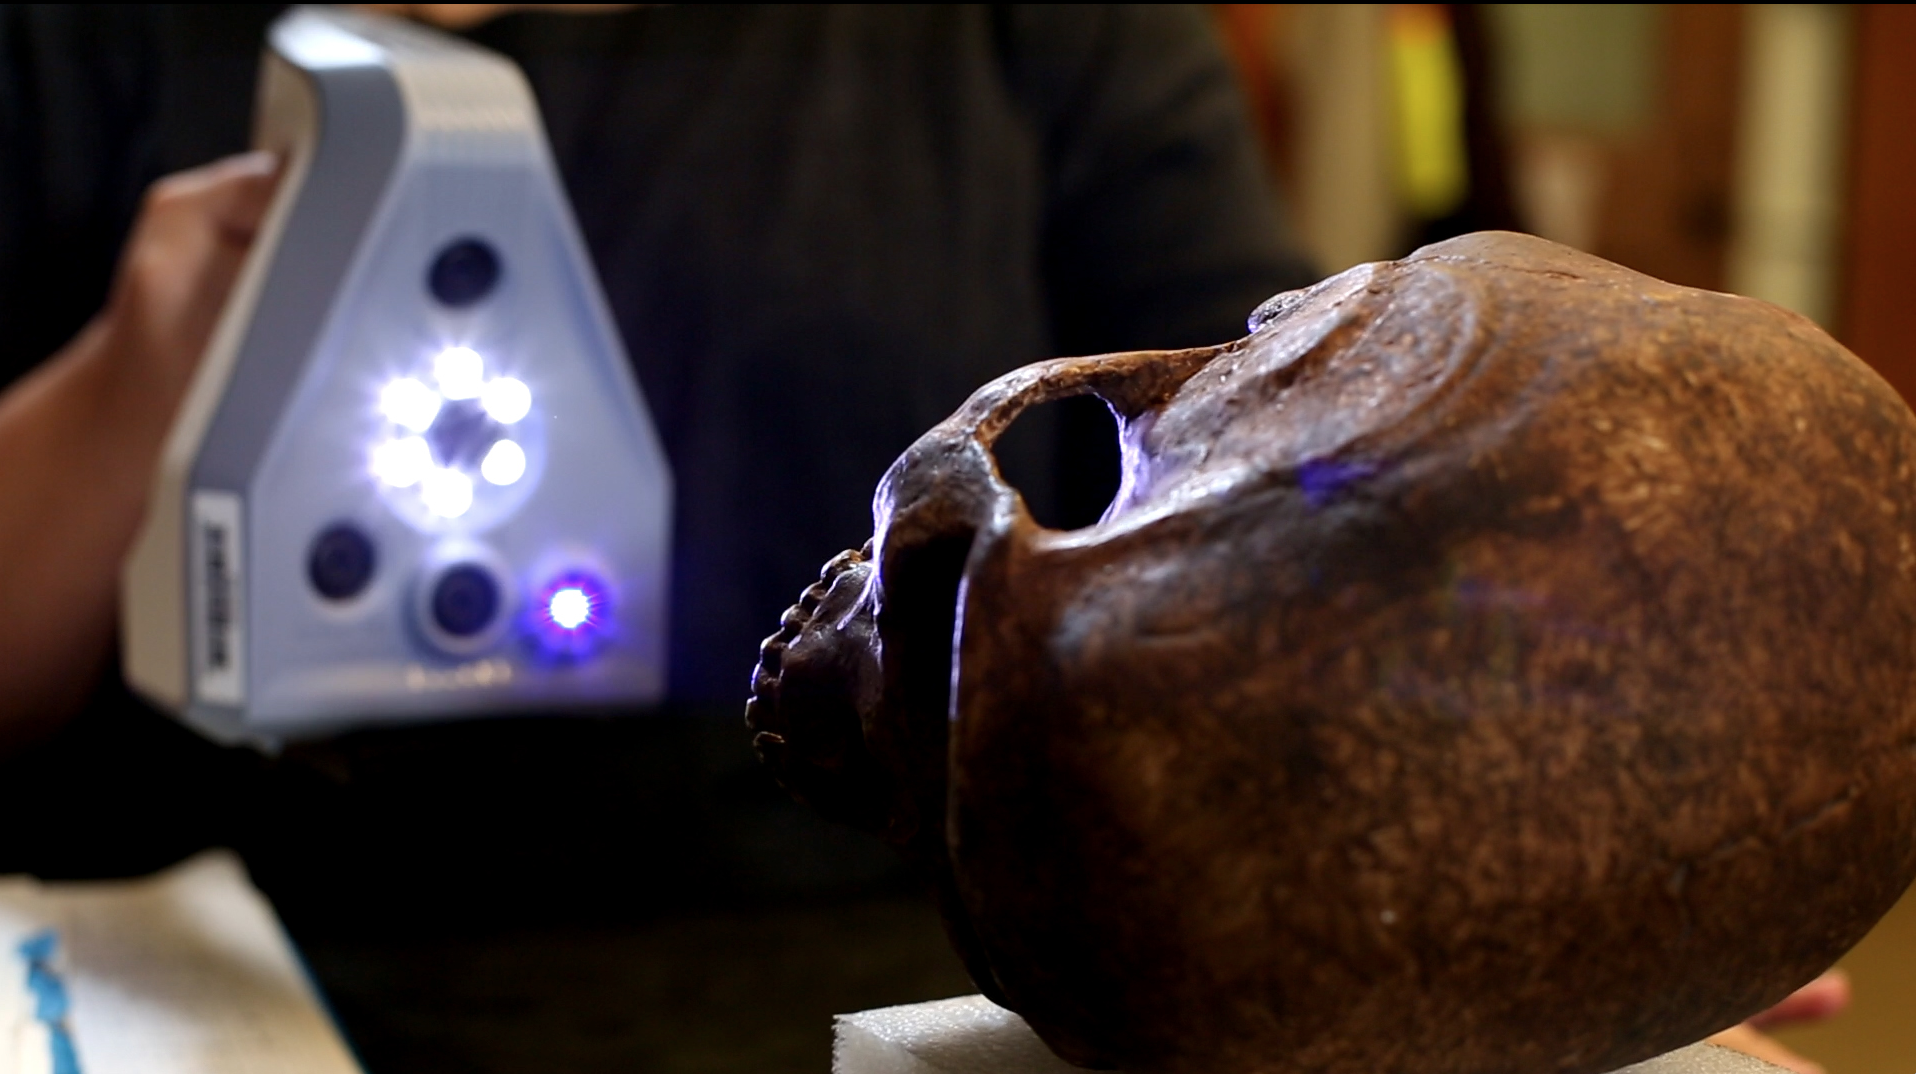
Once the data is collected, it’s processed to create a file. That file is used to 3D print the skull.

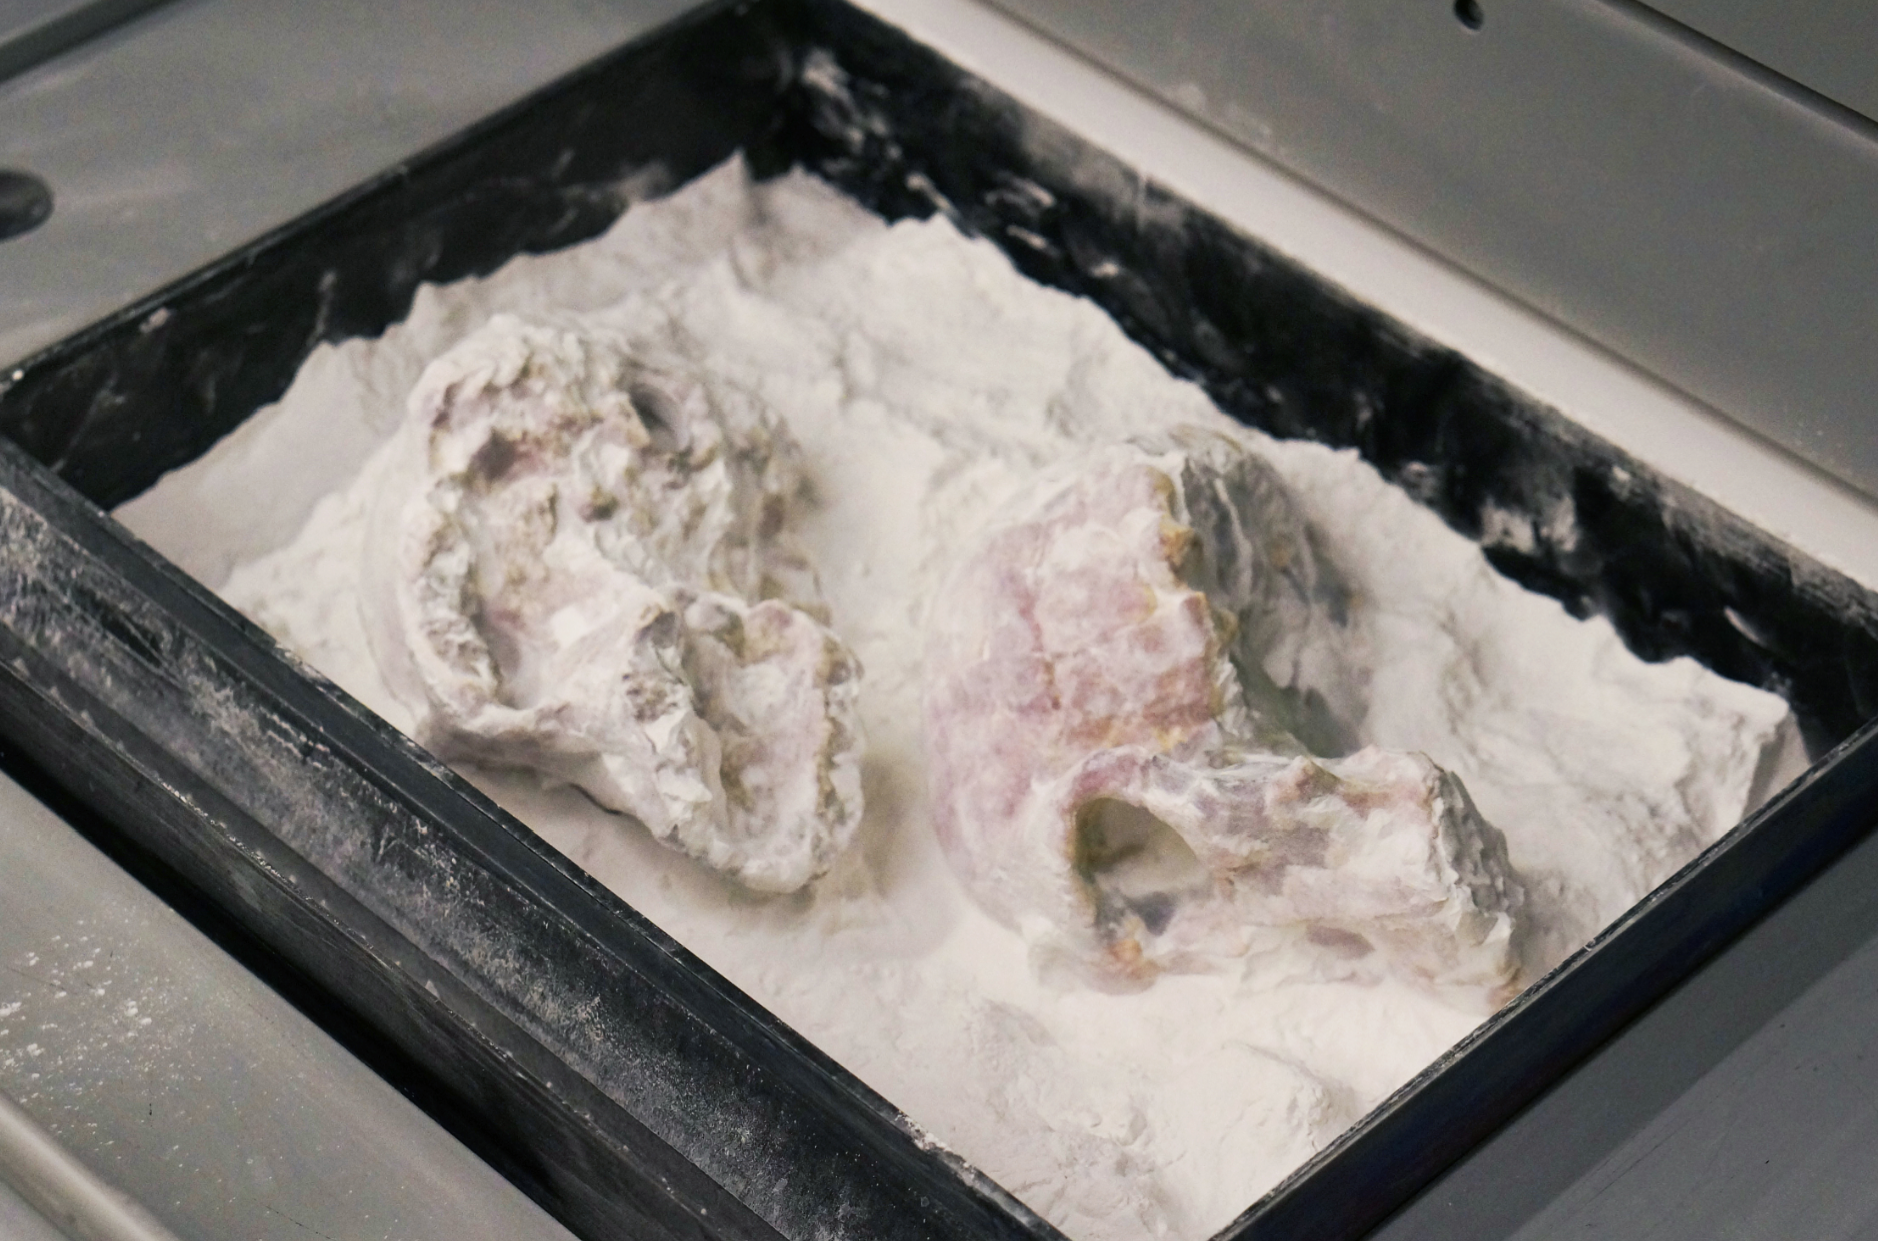
The skull is printed out of gypsum powder. Depending on the final size of the 3D replica, it could be printed in several pieces and assembled later.
Gypsum powder is messy, and the completed prints need to be cleaned. Model makers use a vacuum to remove the residue from the skull.
Freshly printed skulls (or 3D printed anything for that matter) are very fragile. Infiltrating them with an epoxy makes them more durable. After infiltration, the skull needs 24 hours to dry.
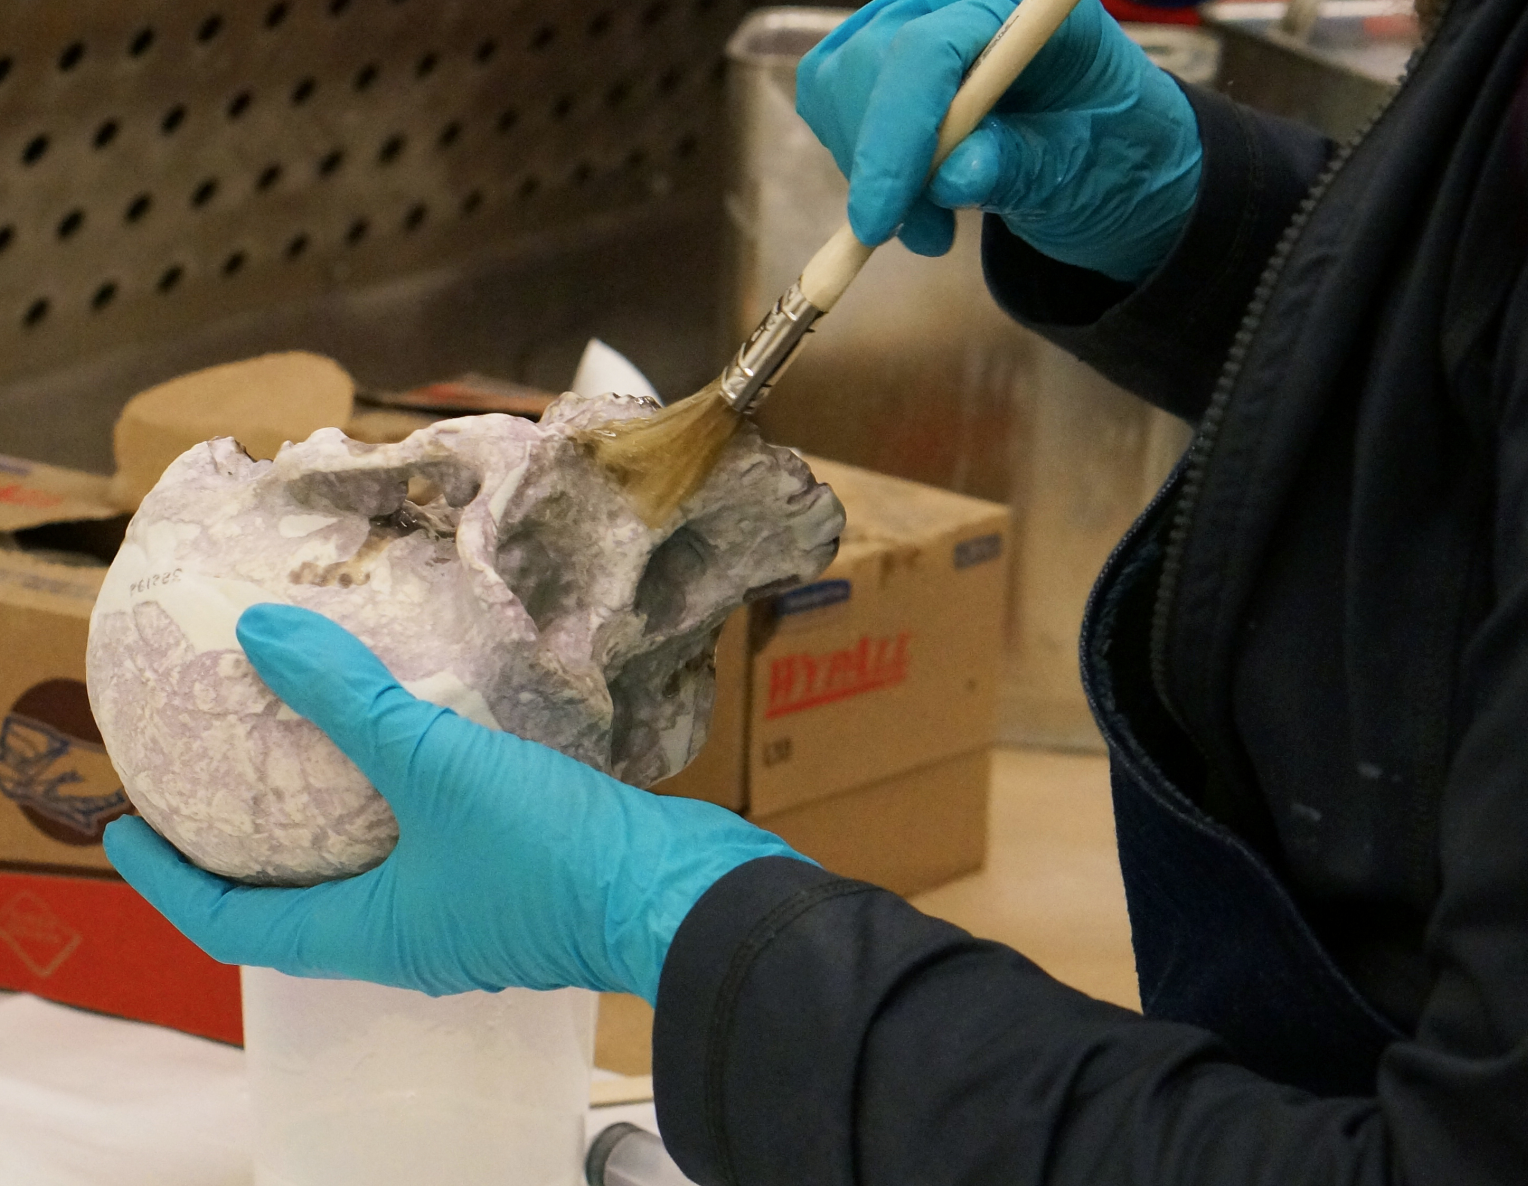
Each printed skull needs to be sanded by hand to remove build lines. Build lines are the thin layers that accumulate as the gypsum powder forms the replica.

The skulls come out of the printer the color of the gypsum powder. While that’s still amazing – these are 3D printed skulls after all – it’s a bit like looking at a black and white copy of a color photo. The skulls have to be hand-painted to truly look like the original.

The final product then gets a clear coat of automotive sealer to protect the paint.